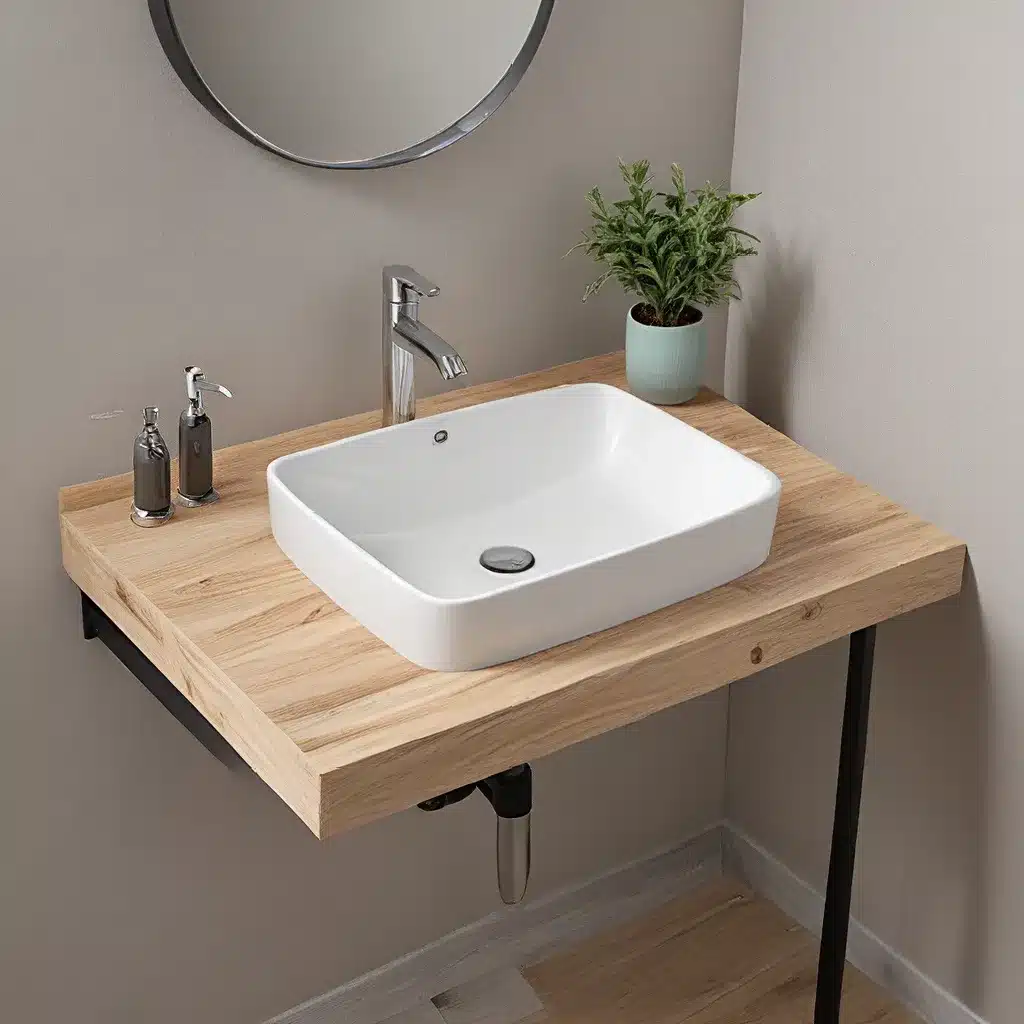
When it comes to transforming your bathroom into a stylish and functional space, the washbasin plays a crucial role. Not only does it serve as the centerpiece, but it also sets the tone for the entire room. Whether you’re building a new bathroom from scratch or giving an existing one a much-needed facelift, getting the washbasin installation right is crucial.
Choosing the Right Washbasin Design
Washbasins come in a wide variety of shapes, sizes, and materials, each with its own unique set of benefits. From the classic pedestal sink to the sleek wall-mounted option, the choice you make can significantly impact the overall look and feel of your bathroom.
Pedestal sinks are a timeless choice, offering a simple and elegant aesthetic. They’re a great option for smaller bathrooms, as they take up minimal floor space. Undermount sinks, on the other hand, are seamlessly integrated into the countertop, creating a clean and streamlined appearance. For those seeking a more modern look, vessel sinks sit atop the countertop, making a bold statement in the room.
When it comes to materials, porcelain and ceramic are popular choices for their durability and easy maintenance. Natural stone, such as marble or granite, adds a luxurious touch, while stainless steel offers a contemporary industrial vibe. Each material has its own unique properties, so it’s essential to consider factors like maintenance, cost, and personal preference when making your selection.
Preparing for Washbasin Installation
Before you begin the installation process, it’s crucial to ensure your bathroom is properly prepared. This includes measuring the available space and ensuring the wall or countertop is level and structurally sound. Depending on the type of washbasin you’ve chosen, you may need to consider additional factors, such as the placement of the plumbing and the necessary cutouts in the countertop.
Video tutorials can be a valuable resource, providing step-by-step guidance on the installation process. They can help you understand the specific tools and techniques required for your chosen washbasin type, as well as best practices for a professional-looking result.
Installing the Washbasin
The installation process can vary depending on the type of washbasin you’ve selected, but there are some general steps to keep in mind:
- Prepare the Surface: Ensure the wall or countertop is clean, level, and free of any debris or obstructions.
- Mark the Placement: Use a level and tape measure to mark the exact location where the washbasin will be installed.
- Secure the Mounting Hardware: Depending on the type of washbasin, you may need to install mounting brackets, clips, or other hardware to support the weight of the basin.
- Connect the Plumbing: Carefully connect the water supply and drainage lines, ensuring a proper seal and no leaks.
- Level and Secure the Washbasin: Carefully position the washbasin and make any necessary adjustments to ensure it is level and securely in place.
- Seal and Caulk: Apply a high-quality silicone sealant or caulk around the edges of the washbasin to create a waterproof seal and a seamless finish.
For a more detailed, step-by-step guide on DIY board and batten installation for a professional-looking washbasin area, be sure to check out the tutorial from Jenna Sue Design. This comprehensive guide covers everything from measuring and cutting the materials to painting and finishing touches, ensuring a stunning and cohesive look for your bathroom.
Maintaining Your Washbasin
Once your washbasin is installed, it’s essential to properly maintain it to keep it looking its best for years to come. Routine cleaning with a mild, non-abrasive cleaner and a soft cloth or sponge can help prevent the buildup of grime and hard water stains.
For natural stone washbasins, it’s recommended to use a specialized stone cleaner and to seal the surface periodically to protect it from stains and damage. Stainless steel basins may require a bit more attention, as they can be prone to water spots and fingerprints, but a quick wipe with a microfiber cloth can keep them looking shiny and new.
Regular inspection of the plumbing connections and seals is also crucial to prevent any leaks or water damage. Addressing any issues promptly can help extend the lifespan of your washbasin and ensure a trouble-free experience.
By following these tips and tricks, you can achieve a professional-looking washbasin installation that not only enhances the aesthetic of your bathroom but also provides a functional and durable solution for years to come. Remember, the key to a successful washbasin project lies in thorough planning, attention to detail, and a willingness to tackle the task head-on.
Elevate your bathroom’s style and functionality with a well-chosen and expertly installed washbasin from Washbasin Factory. Browse our wide selection of high-quality products and let us help you transform your bathroom into a true oasis of relaxation and beauty.

